How To Use Belles and Whistles Products

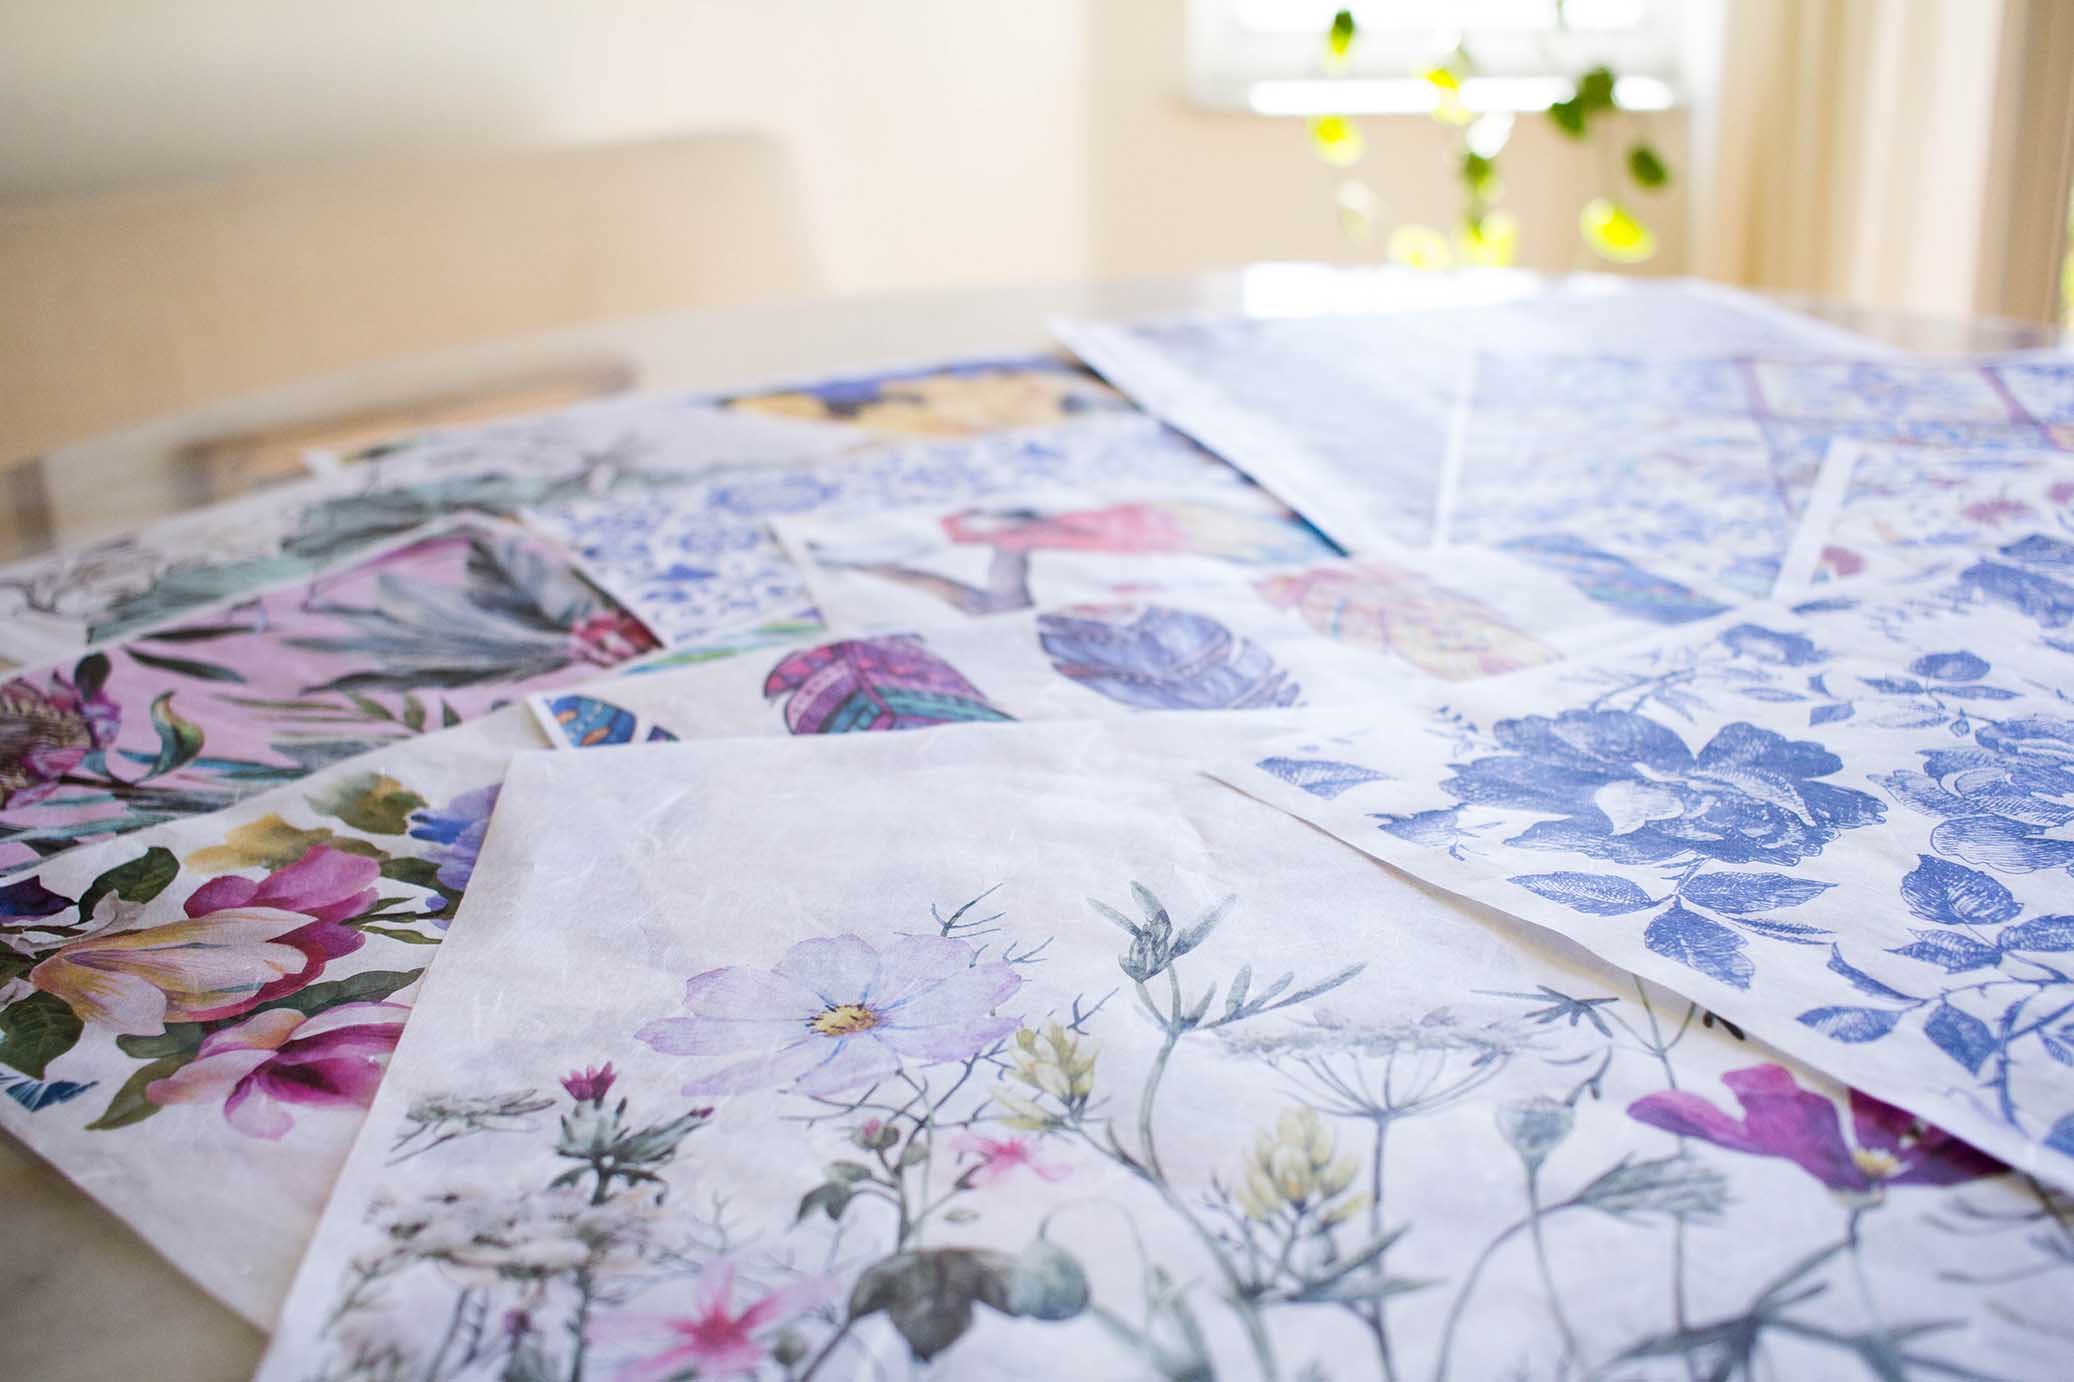
Tissue Decoupage Paper


How to Apply:
- Apply a thin layer of Clear Coat Satin where you will be placing the Tissue Decoupage Paper - Using a Mister Bottle, lightly mist water on the back of the design. The light mist of water makes the paper pliable. DO NOT SOAK. Wait a minute or two for the paper to absorb the water then place it on the piece. 

- Using a wadded ball of plastic wrap, gently smooth out any wrinkles starting from top to bottom, lifting the paper up as you go to help smooth out the wrinkles. 
- Allow the tissue paper and clear coat to fully dry. After completely dry, finish with your choice of Dixie Belle topcoat 

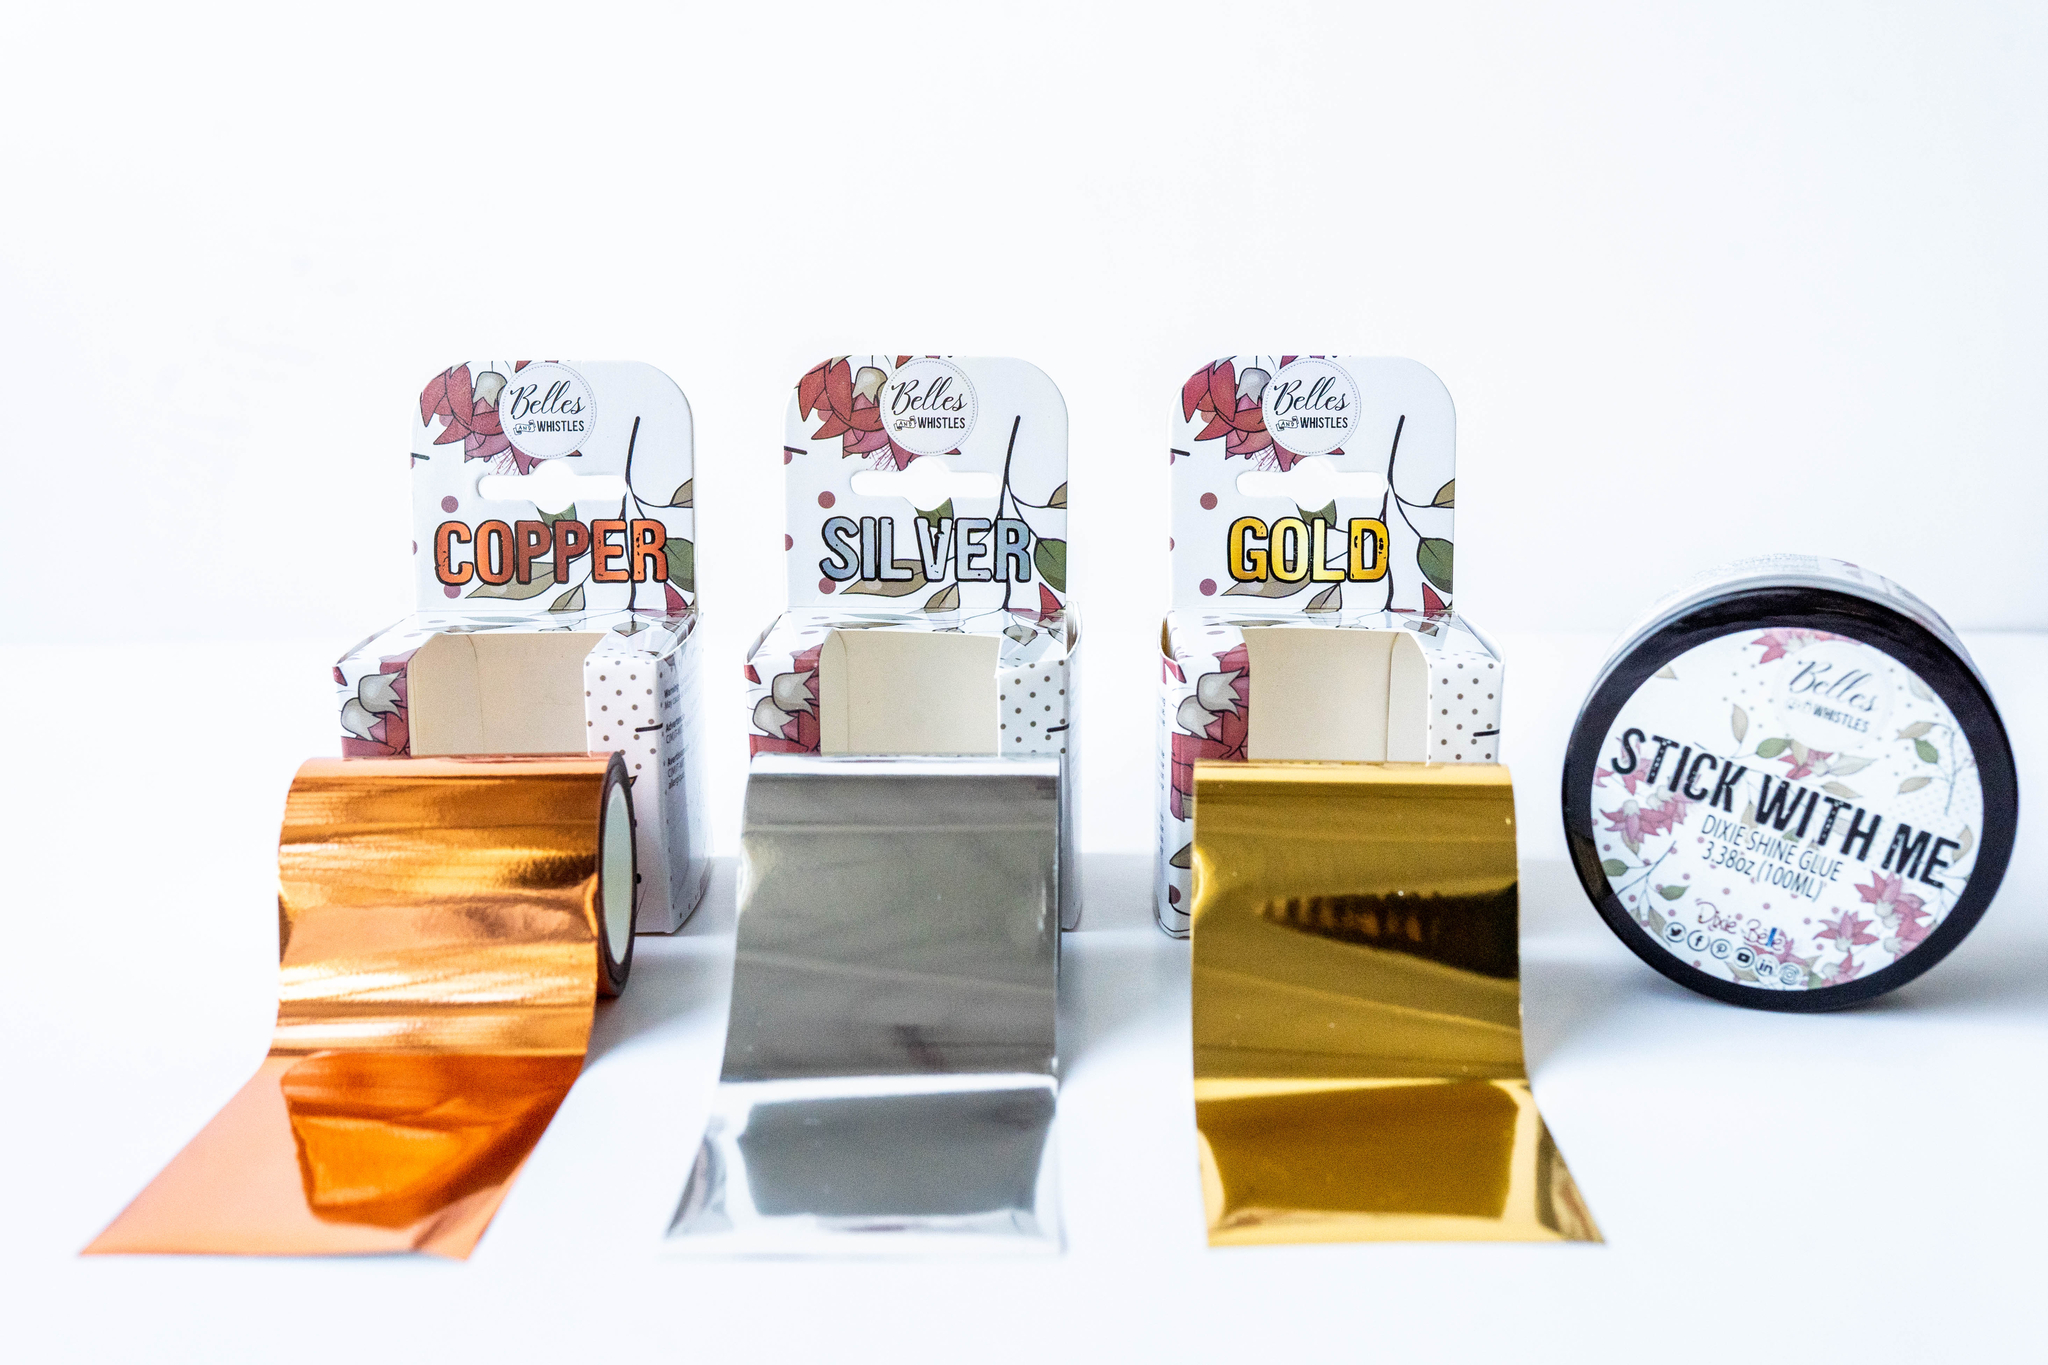
Dixie Shine


How to Apply:

Apply Stick With Me glue following directions.

Position Dixie Shine over top of the glue, and burnish with a Dixie Belle Finishing Pad.

Remove and shine will be transferred onto your piece.


PLEASE NOTE: You need to use a Finishing Pad or burnishing stick to rub the shine off the transfer paper.


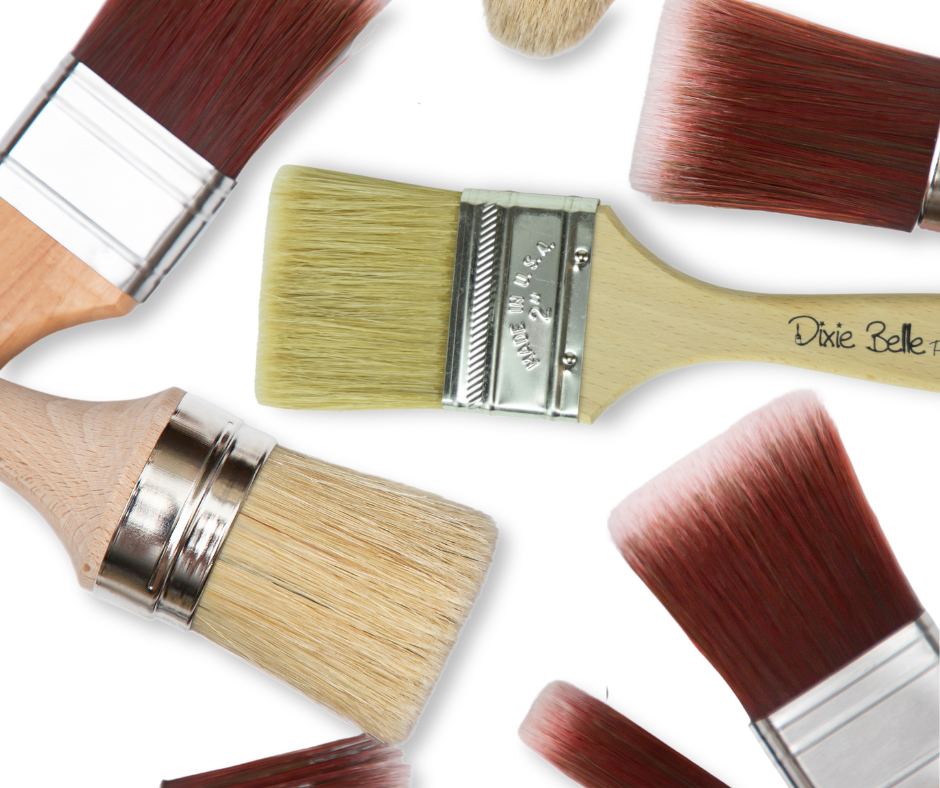
Brushes

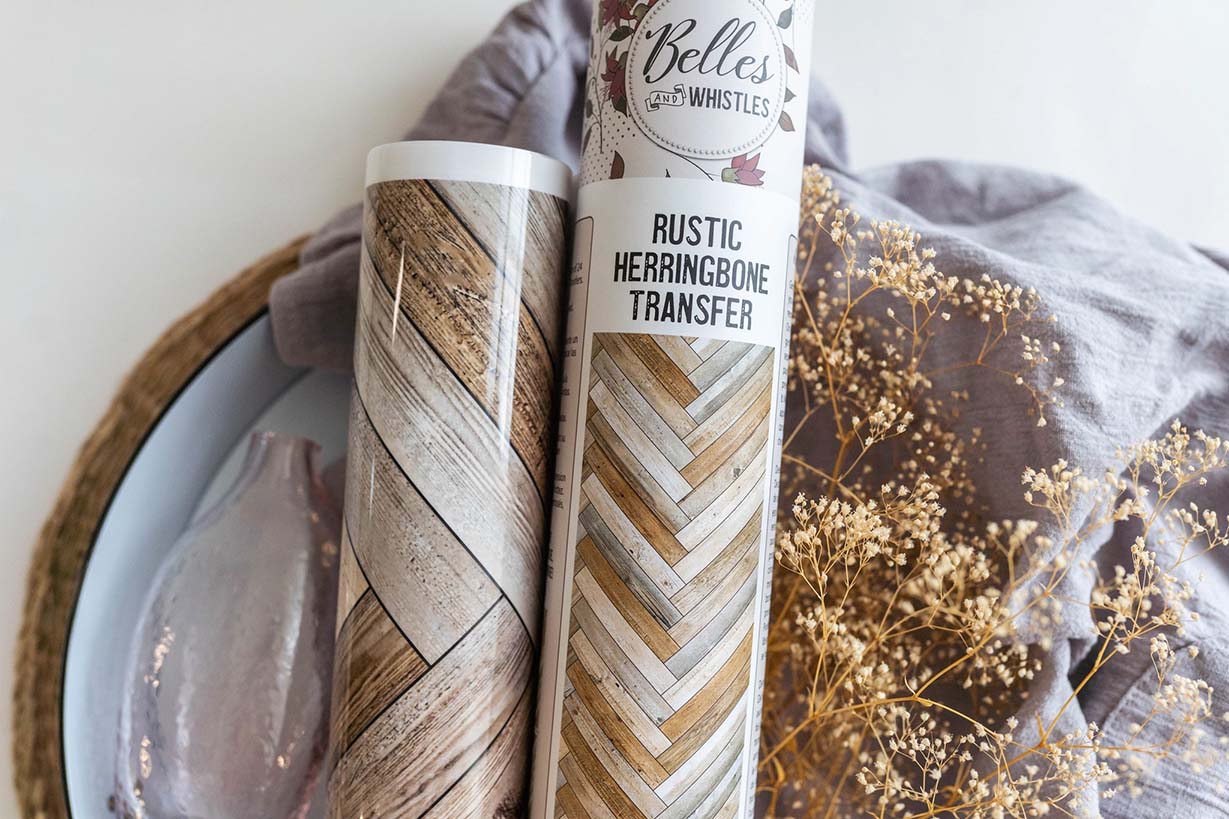
Rub-on Transfers

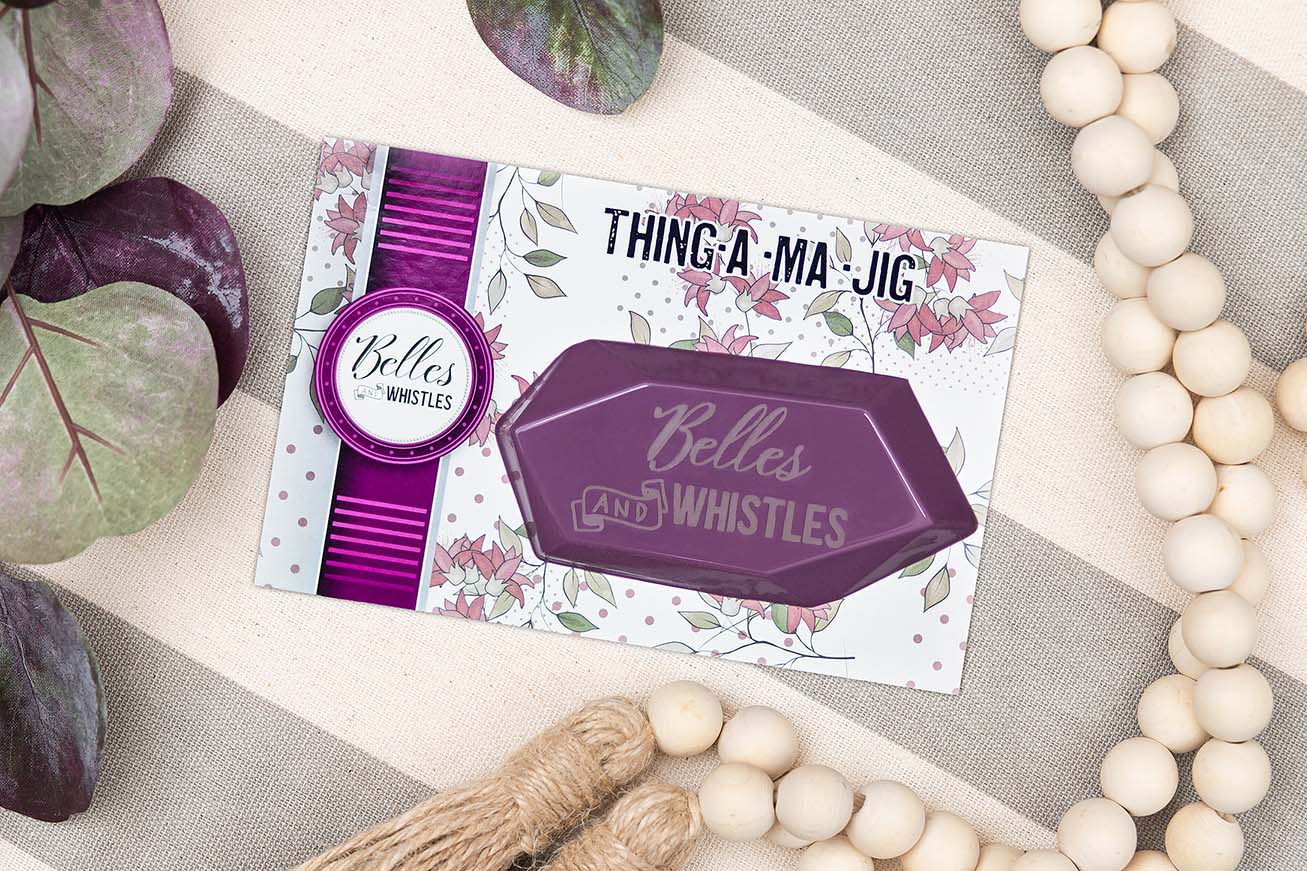
Thingamajig

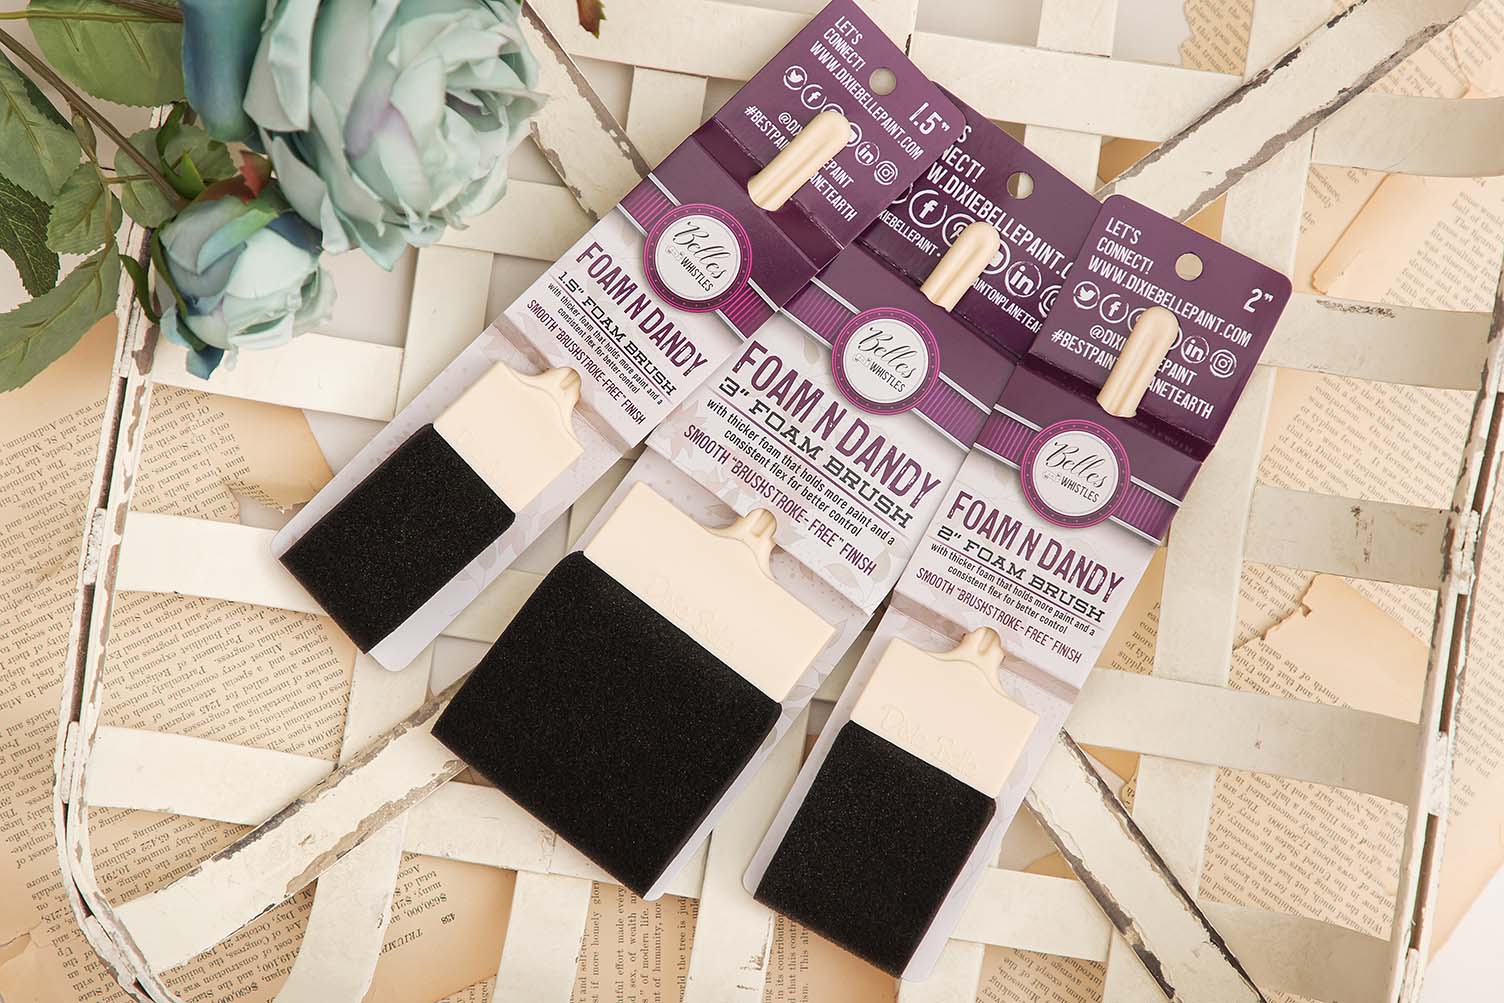
Foam N Dandy

Invest in your painting success with one of our Natural or Synthetic brushes!


Decide where you’d like to place it prior to removing the protective backing paper.

You can gently lift the clear release sheet to check that it has adhered completely.

Working from the outside edge inward, rub the transfer to apply.

Meet your DIY best friend: the Thingamajig! This angled squeegee’s the perfect tool for perfectly applying paint with our Silkscreen Stencils. Also, the Thingamajig is an exceptional device for creating movement and texture on your projects! After usage, just clean with mild soap & water. 

DIY is fine and dandy with this helpful tool!

The Foam N Dandy Brush is designed to apply paint, stain, or clear coat with an ultra-smooth, effortless finish.


Reusable Stencils

Dixie Belle’s reusable mylar stencils were made with you in mind.

Our stencils are heavy-duty 10 mil mylar, and are available in various sizes.

The designs can be repeated in any direction. After use, clean immediately with soap and water.


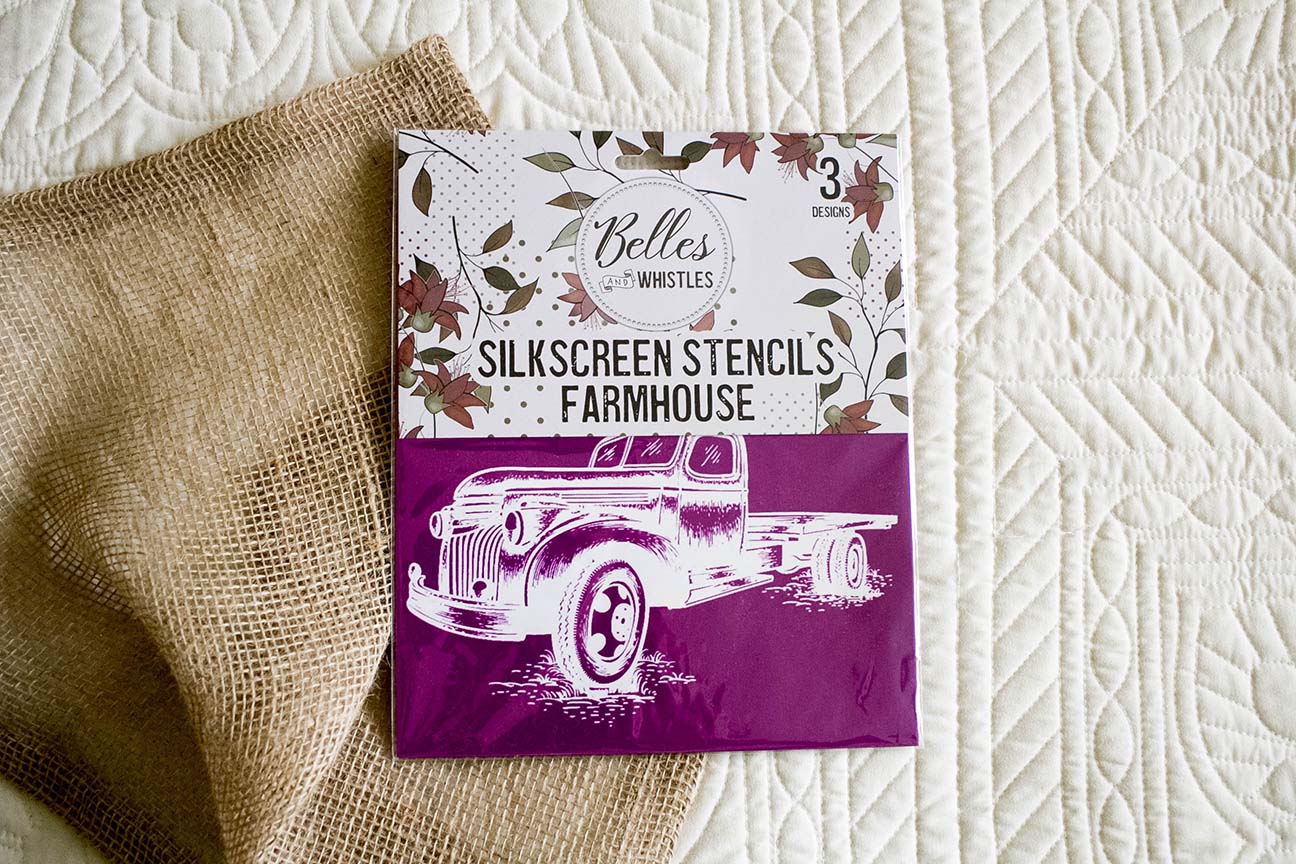
Silkscreen Stencils

Remove stencil from the white backer sheet. Position the stencil on your project.

After removing the stencil from the white backer sheet, position it on your project.

Then, apply a thin layer of paint. After use, remove the silkscreen and clean immediately with soap and water.

Let the stencil dry (sticky side up) on a paper towel and once dried, place it back on the white backer sheet.

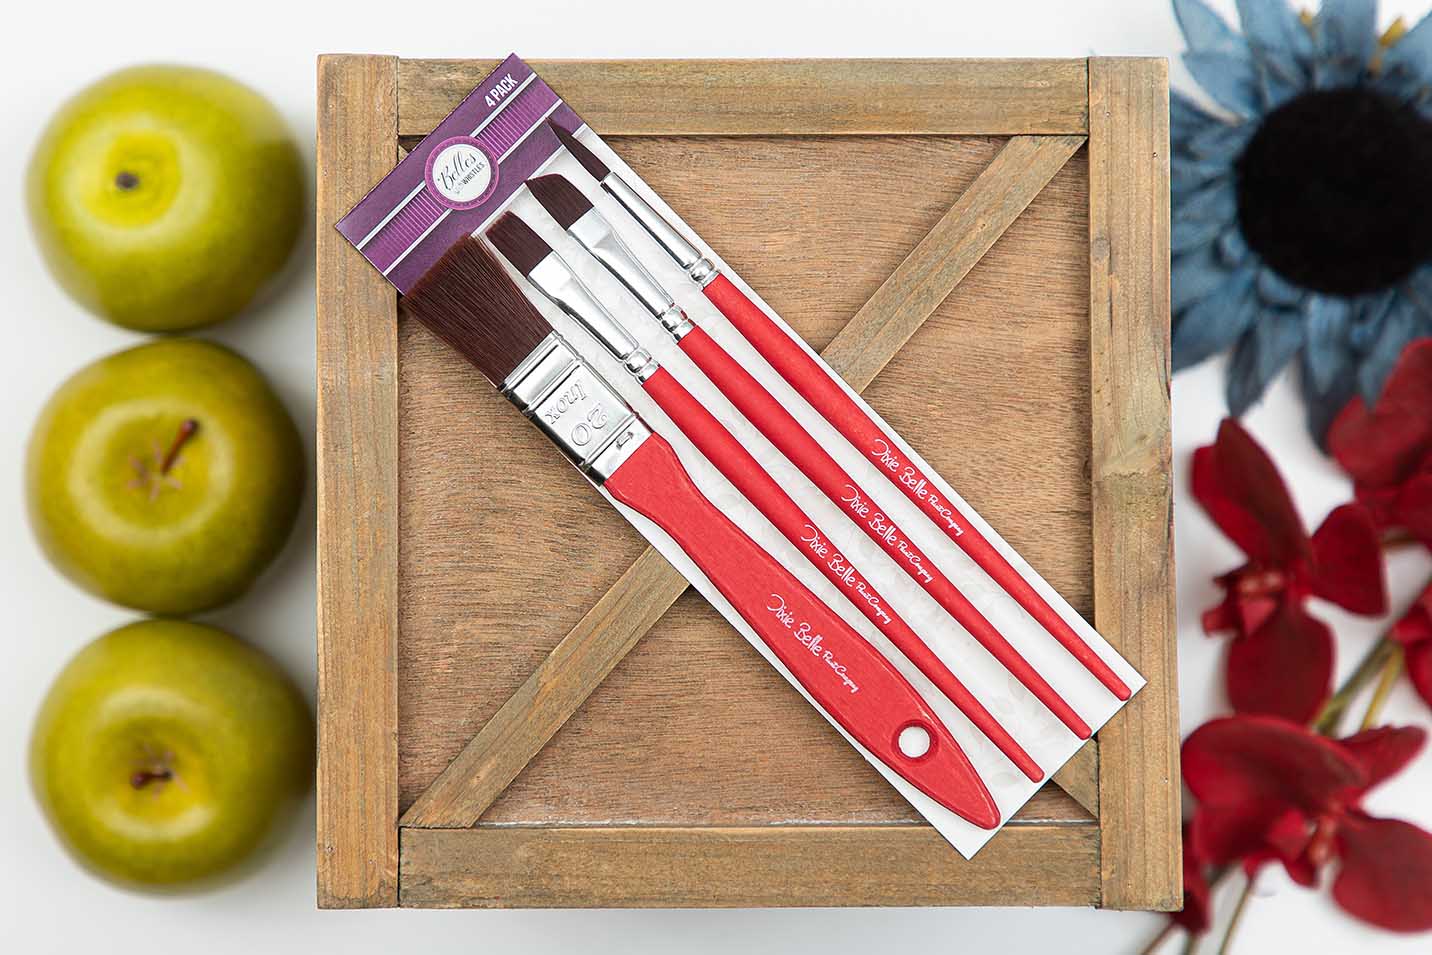
Artists Brushes

This set of four brushes is perfect for detailed work and touch-ups on your project.


Rice Decoupage Paper

Cut the border off of your decoupage paper.

Apply Clear Coat on the area where you want to place the decoupage paper. Have the decoupage paper placed on top of the Clear Coat while it’s still wet. Apply another layer of Clear Coat on top of the Premium Rice Decoupage paper.


Welcome to our comprehensive guide on how to use Belles & Whistle products! From rub-on furniture transfers and mylar stencils to decoupage, silkscreen stencils, and our newest addition, Dixie Shine products, we have everything you need to unleash your creativity.

Explore the world of rub-on furniture transfers and discover how they can effortlessly transform your furniture into stunning works of art. Our step-by-step instructions will guide you through the process, from surface preparation to achieving flawless transfers. Get ready to add intricate designs and vintage charm to your furniture pieces.

Next, dive into the possibilities of mylar stencils, decoupage, silkscreen stencils, and our latest innovation, Dixie Shine products. Learn how to create crisp stencil designs, layer delicate decoupage papers for captivating textures, and apply Dixie Shine for a radiant touch. Our easy-to-follow instructions will help you achieve professional-looking results and bring your DIY projects to life.

Join us on this creative journey as we explore the endless possibilities of Belles & Whistle products. Get inspired, learn new techniques, and let your imagination soar as you embark on your next DIY adventure.