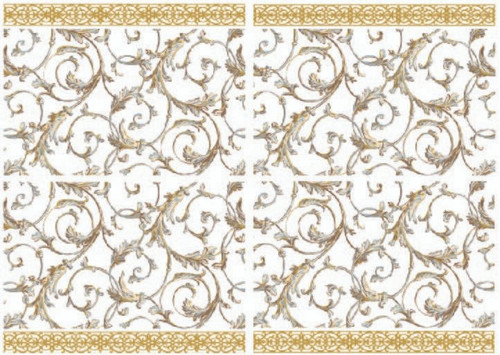
4 Sheets - 8.3" x 11.7" each
Bring festive sparkle to your holiday decor with the Holiday Hologram Water Slide Transfer! This mini transfer features stunning holographic Christmas trees, pine cones, and acorns elegantly placed on golden ribbons, making it a perfect addition to your Christmas decorating projects. Its dazzling design adds a touch of seasonal magic to any item, whether you’re enhancing painted furniture or crafting beautiful Christmas gifts.
Ideal for holiday decor and great for scrapbooking, this water slide transfer allows you to create unique and eye-catching designs effortlessly. It offers the look of a rub-on transfer but is even easier to apply—just use a wet rag like our Bag O' Rags, and watch your holiday crafts come to life! From greeting cards to personalized ornaments, this mini transfer brings a holographic touch that will make your Christmas decorating truly stand out.
Transform your painted furniture with the enchanting glow of the Holiday Hologram Water Slide Transfer. Whether you’re adding festive charm to smaller pieces or creating a standout statement for your holiday setup, this transfer blends seamlessly with any surface, providing an easy way to infuse your home with Christmas spirit. Its versatile design makes it a must-have for anyone looking to elevate their holiday decor with a touch of shimmer.
Perfect for Christmas gifts, the Holiday Hologram Water Slide Transfer lets you customize your creations with ease. Its holographic finish captures the light, adding a delightful sparkle to any project, from scrapbooking to painted furniture. Whether you’re crafting for yourself or loved ones, this mini transfer is the ideal way to bring holiday cheer into every aspect of your festive preparations.
- Note:
- Wait 24 hours after applying the last coat of paint before using Water Slide Transfer.
- Step 1:
- Clean the piece with dry cloth and wipe away any dust or debris.
- Note:
- For unpainted surfaces clean with White Lightning then rinse with clean water.
- Step 2:
- Align the transfer on your piece the color side faces down, and the gray side up. The gray side will assist you in aligning the transfer with your project.
- Step 3:
- Using a wet lint free rag, generously apply water to the white backing of your design. Ensure that the backing becomes sufficiently wet.
- Note:
- For the best results, leave the rag lying on the gray side to thoroughly saturate the paper.
- Step 4:
- Allow the transfer to sit for approximately 3 minutes, occasionally giving a light brushing with Dixie Belle THING-A-MA-JIG to ensure it lies completely flat.
- Note:
- Be sure to hold the transfer steady with one hand while burnishing to prevent any slipping. For larger transfers you can extend the time to 12 minutes.
- Step 5:
- Slowly lift the backing paper to check if your design has transferred. If you notice some areas haven’t adhered, gently lay back down and add more water and wait for another minute before trying again.
- Step 6:
- After applying if there are any bubbles that are not lying flat, gently apply pressure with the THING-A-MA-JIG.
- Recommend Products:
- THING-A-MA-JIG, Clear Coat, White Lightning, Dixie Belle Paint
- *Note:
- Store in a cool, dry or climate-controlled environment. *


